What is research?
PART 1 Idea generation
Intuitive approach
Stimulated approach
Systemic approach
A strategy for thinking through a problem
Phase 1 assimilation
Phase 2 General study
Phase 3 development
Phase 4 communication
Analysis
Research
Evaluation
Solution
Research is finding out by asking how, what, why
Its the process of finding facts. These facts will lead to knowledge. Research is done by using what is already known.
Types of research
Primary
Secondary
Quantitative
Qualitative
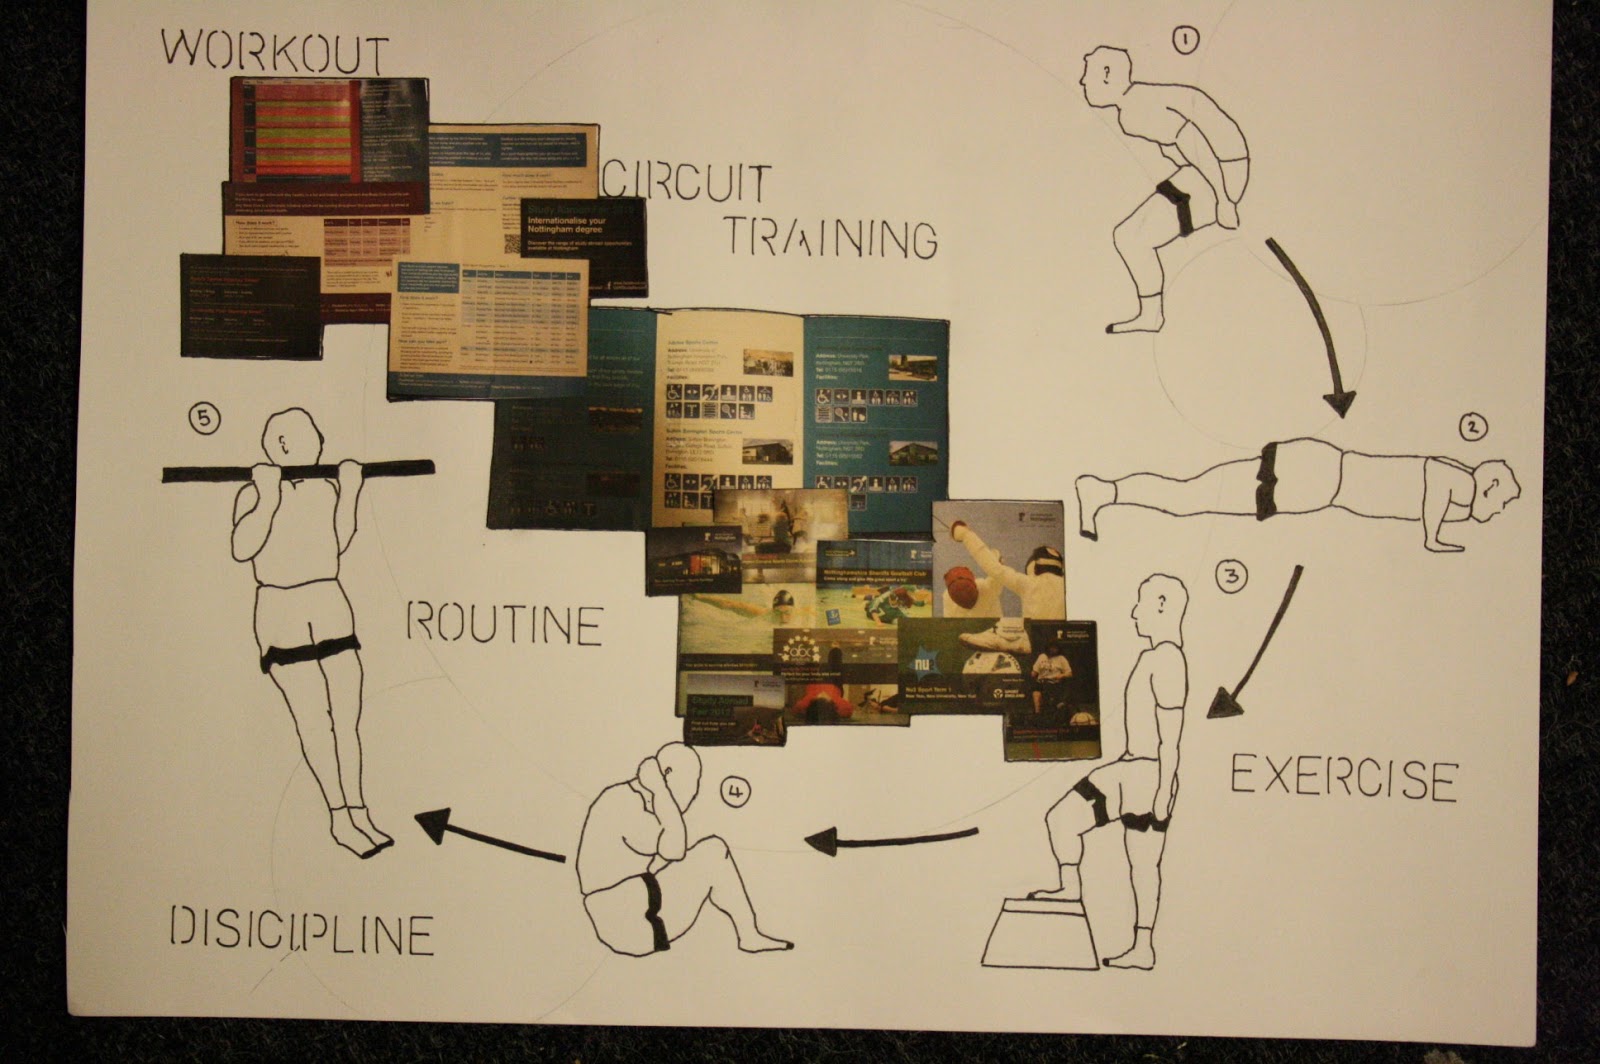
After this brief introduction to design process we were put into groups and given a word that we then had to expand on. Our groups word was ROUTINE - A prescribed, detailed course of active to be followed regularly, a standard procedure.
We devised a list that we thought ROUTINE consisted of:
Morning routine
Daily routine
Dance routine
Monthly routine
Routine check
Fitness routine
Skin routine
Medication routine
Work related, firman, police
Dependence on routine
OCD
Repetition
We then created a design sheet so we could select a routine for each person in the group and maybe add other ideas.
I was then given the routine, exercise and fitness.
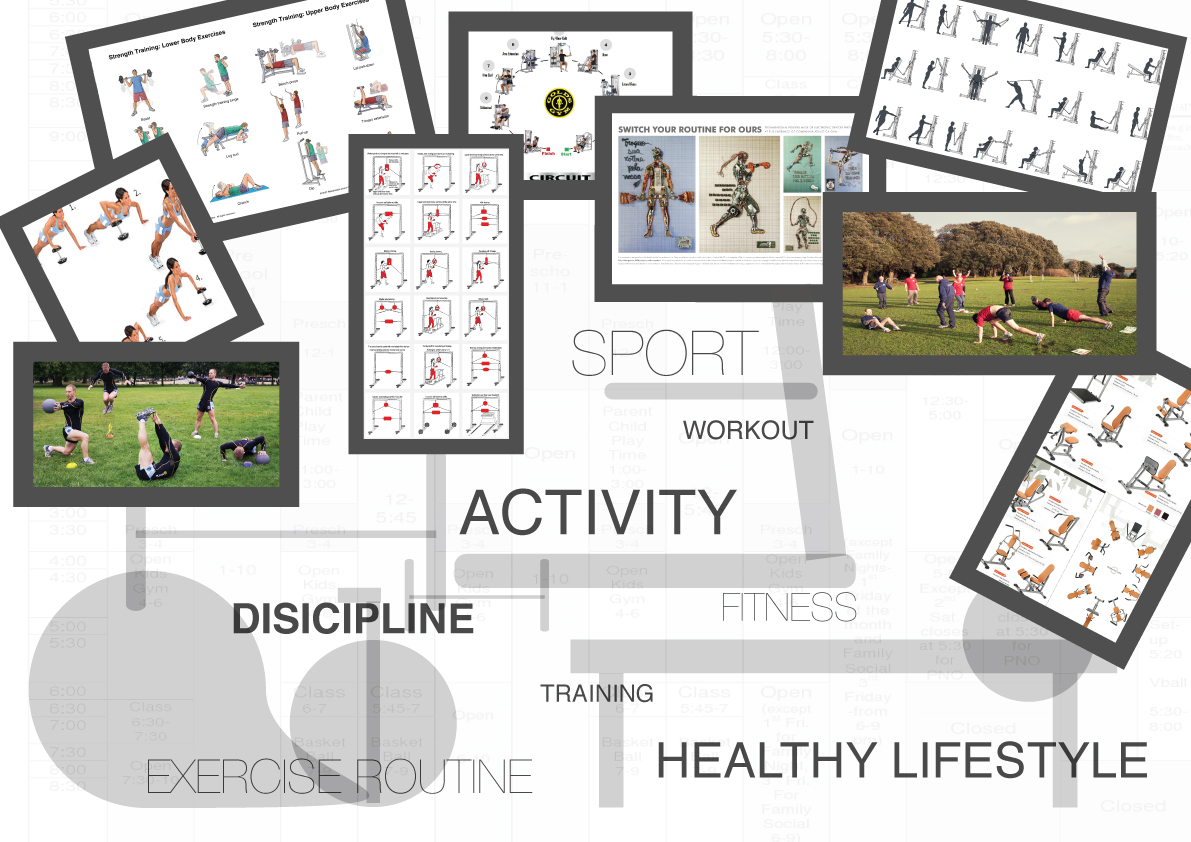
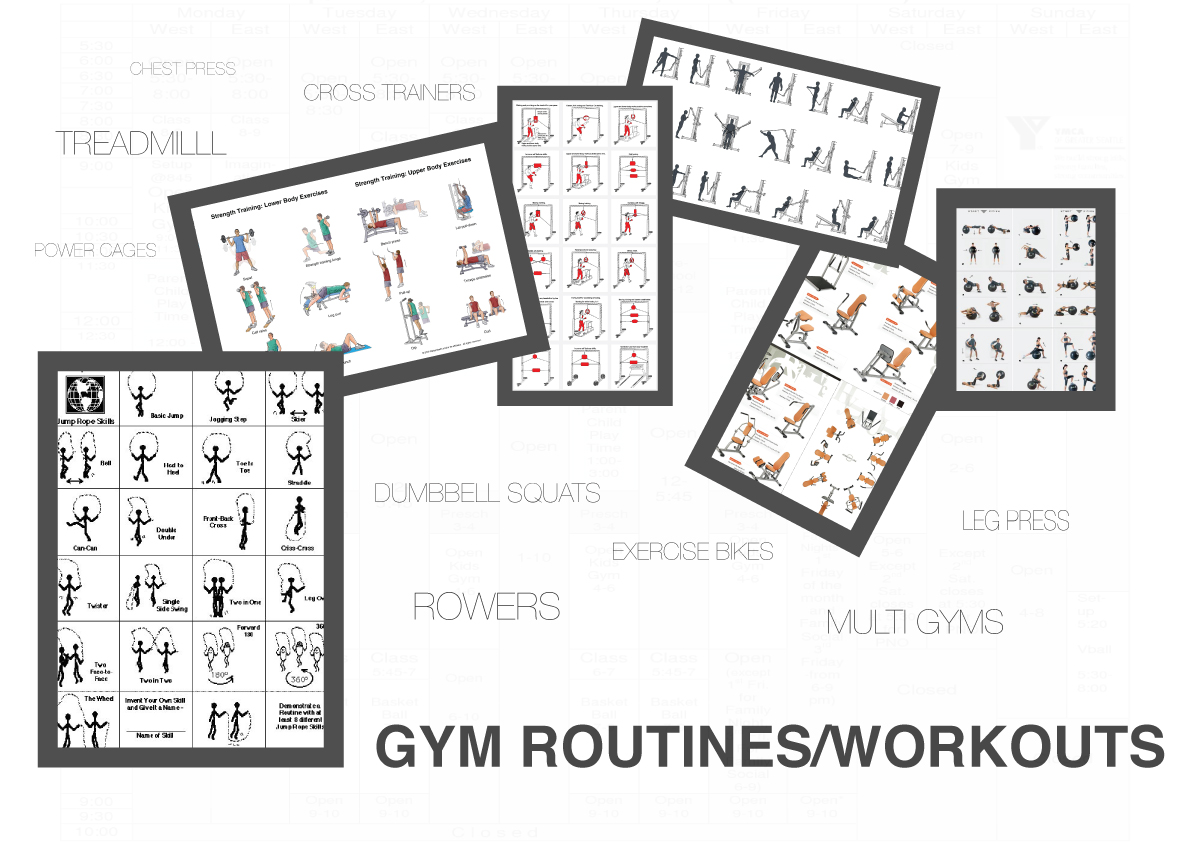
These are the mood boards that i created from the exercise and fitness routine i was given.
Next we had to select out of our group the research we felt would be best to then expand on, as a brief we were given the task to 'get somebody to try something new', so as a group looking at all our research we decided that my fitness and exercise research would fit best with that given task. This was because it contained a lot of interesting graphics and visuals that could be worked with, it also was something we felt a lot of students would need to do and so we might be able to get them to take part.
We started off by coming up with a name for our company, for this we tried to come up with a name that related to fitness in some way and something that could be associated with change.
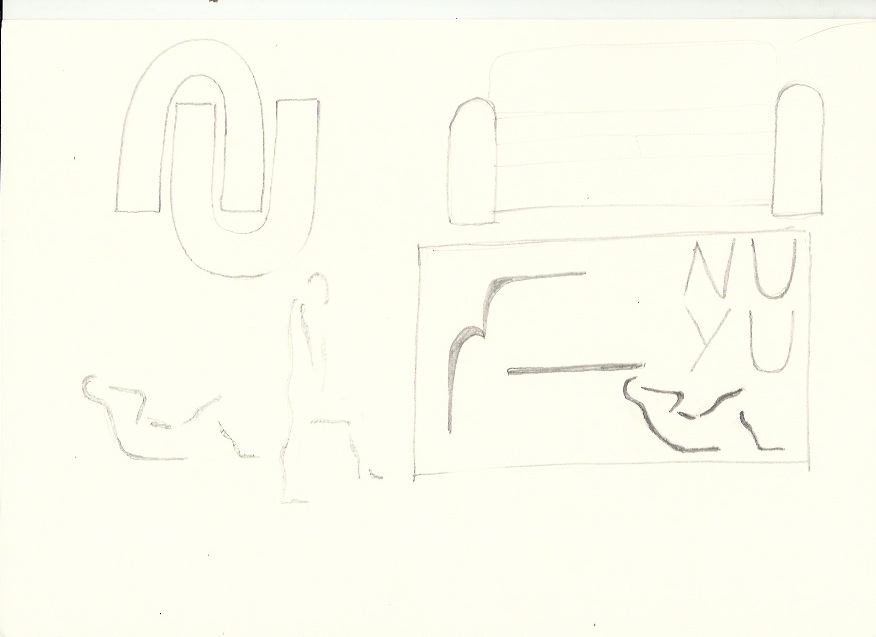
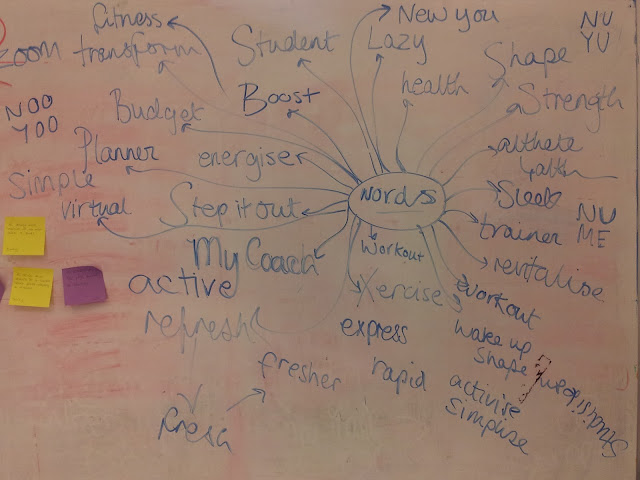 This was our selection of names and random words our group came up with. After much deliberation we settled on the name NUYU, taking into account the fact that doing exercise will then create a 'new you', then a play on words to make it more suited to our target market with the slang.
I then started to come up with some simple designs for a logo that used our name and maybe something to represent a lazy student.
We decided on a logo that one of our group members created, this can be seen at the top of our final design.
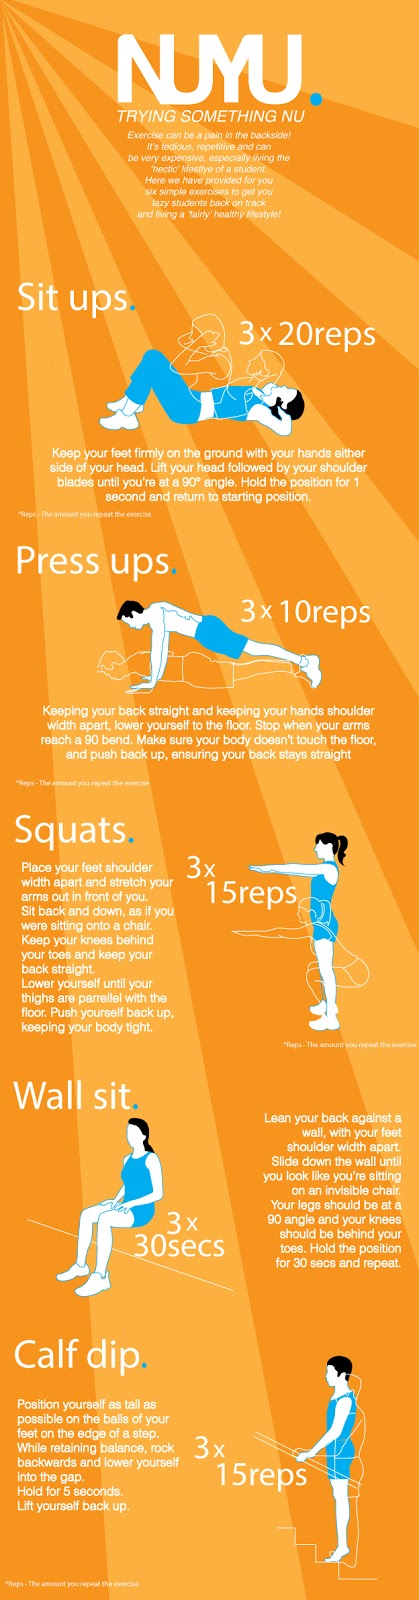
After all the research that i had collected we used it to try and create a routine that provided the viewer all the information they need to take part in the exercise and what the benefits of that exercise was.
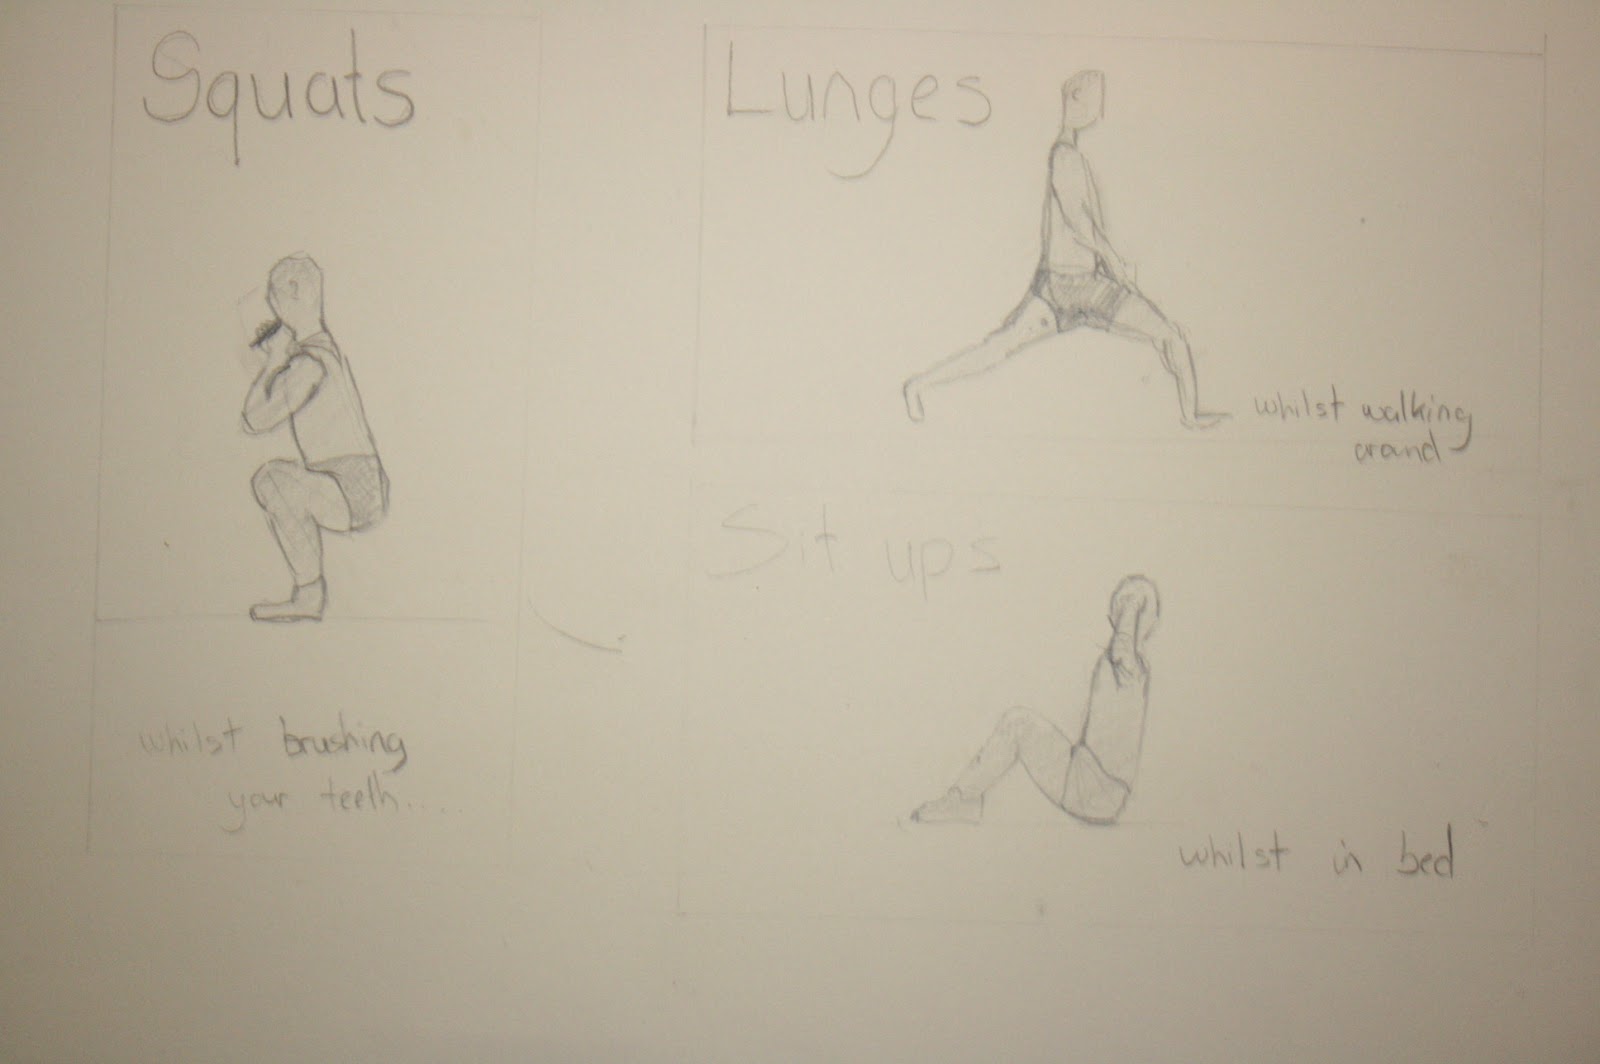
We decided that we'd create a info graphic that could be split into different sections so there would be 5 cards that each contain a different exercise, for these cards there would have to be a simple graphic that showed how a whole exercise would be done. So for this i created these drawings.
I feel the images directly above are the strongest, with one of the people coloured in and then for the rest of the exercise is faded or just as a line, this then provides a view of how to do the whole exercise within a small space so it could fit on each section of the info graphic. This then could just contain the name of the exercise and maybe some information about how to take part professionally.
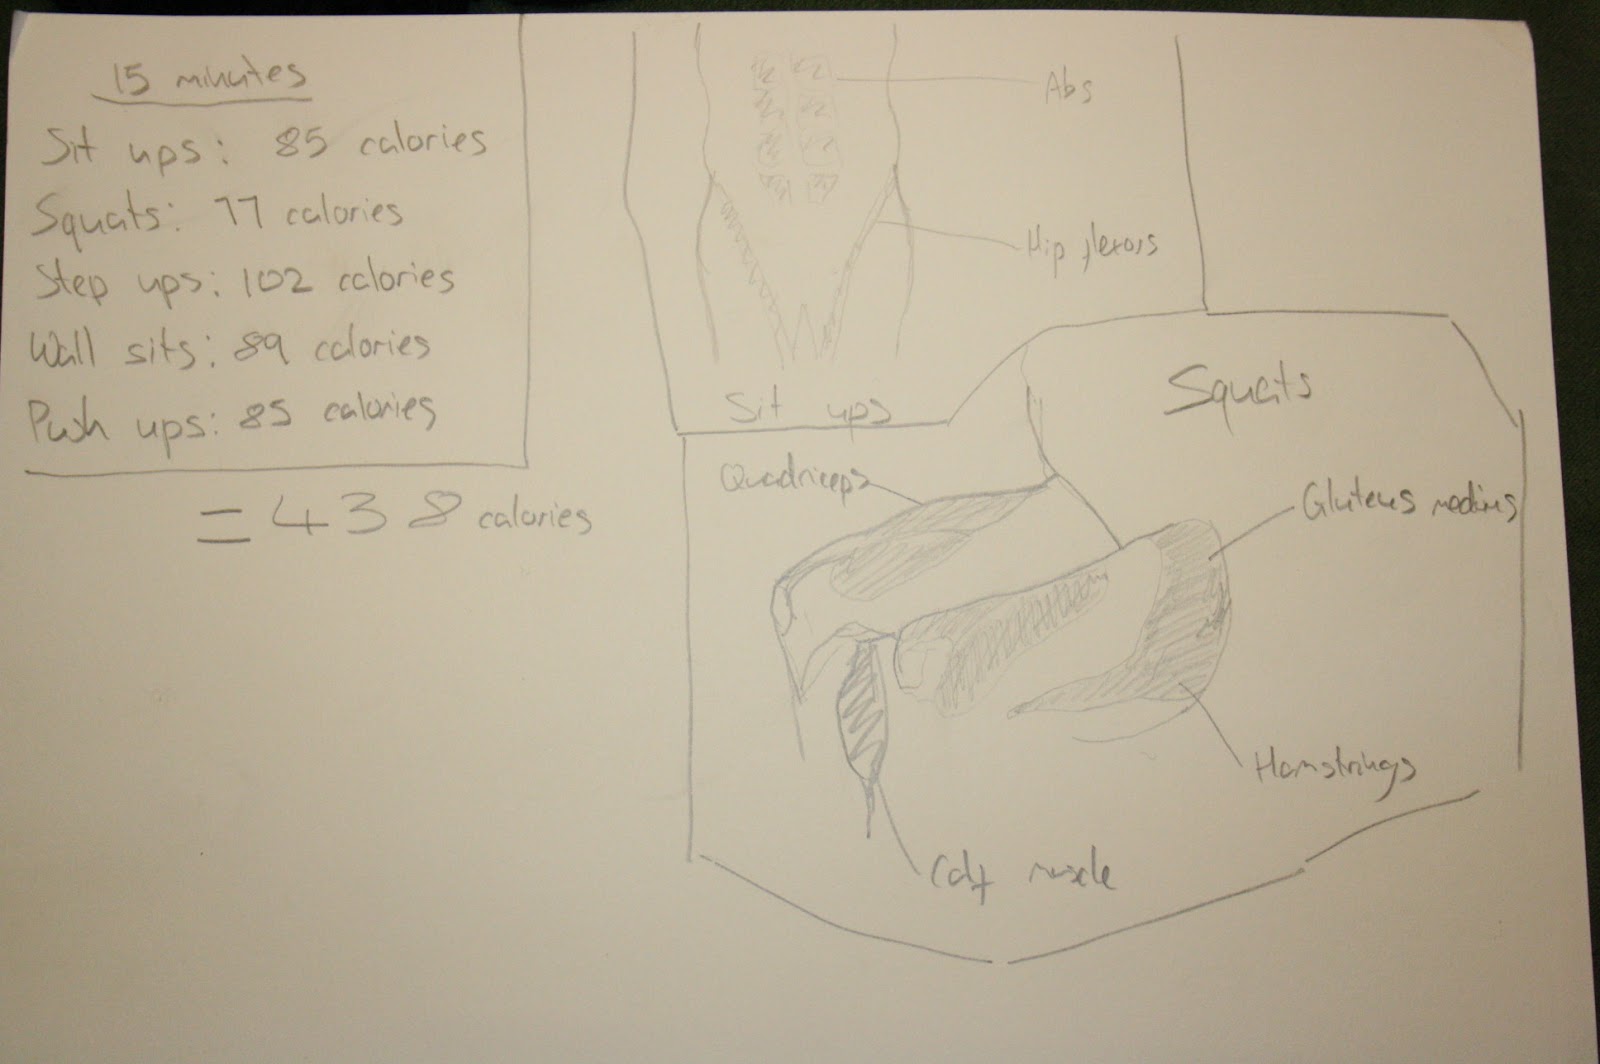
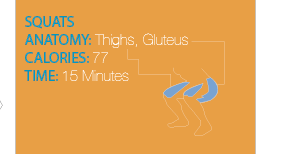
I next came up with an idea to have graphics that went on the back of each card that displayed what muscle was being worked and how many calories would be burned during the exercise.
These were the type of drawings that i wanted to create on illustrator.
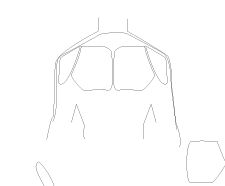
This was the first drawing i created to use on the back of the graphics card. I then colour in the section of the muscle that is being worked.
This is what i created from the drawings, it gives the person viewing the card all the information that is needed. I then created the whole design, show below. With this design i showed how many calories would be burned if all the exercises were done (438) , the line for that then flows down into each exercise so when the whole infographic is put together it flows.
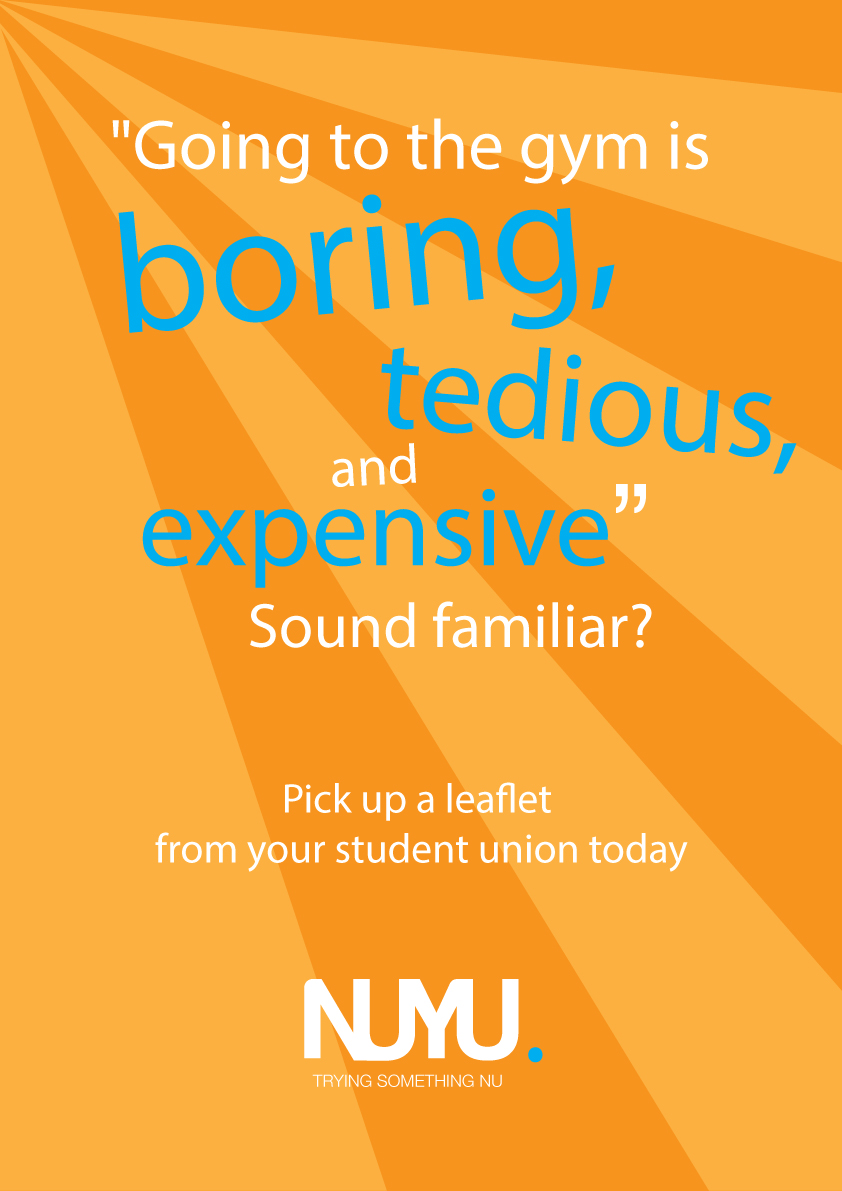
These are the posters that were created by sarah in our group so they could be posted around uni or town so our logo could be noticed and so that word would 'get around'.
FINAL DESIGN
This is the final design for the front of the infographic, i feel it is strong because it gives you simple images that tell you how the whole exercise is done, it is also very easy to see how to do the exercise from the drawings so the viewer doesn't have to read all the writing.


