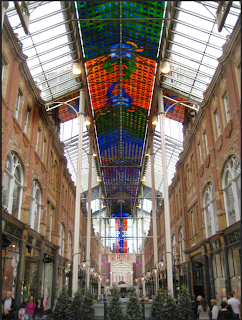
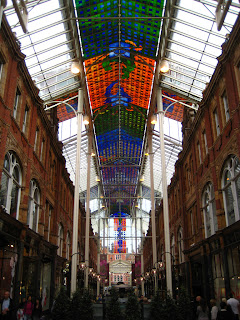
Our first task was to edit a photo that was given to use using 'levels'. As shown below i used the shortcut cmd L and the levels graph known as a Histogram appeared. I then edited the picture and pressed 'ok'
Next we created a new file, to do this i used the shortcut cmd N, this then brought up this window,
As you can see i have selected A4 paper size, the resolution on this document is at 300 which is the amount of pixels the human eye cant distinguish within a inch. So within a inch the human eye cannot detect the pixels. Also shown here is the colour mode, which is set on RGB because i will be working on a computer screen.
Before opening this file we opened a picture to show the difference between working in RGB and then CMYK.
Next we put on the gamut warning, this then showed this image which reveals the areas that need to be put into the colour range, to try and get the image back to the original i changed the levels on the image. This then changed the image to the one below the gamut image.
When changing the image form CMYK to RGB
DESTRUCTIVE WAY
IMAGE-MODE-CMYK doing this you cant get back to the original image and so is destructive
NON DESTRUCTIVE WAY
When editing this image we created a adjustment layer so it didn't effect the original image. This is shown below.
Because of this adjustment layer i could edit the image on top then and have aspects of the image below coming through. This is done by using the brush tool, i choose a soft brush and increased the size.
As you can see the original image on the left the stain glass is bold and bright but the buildings and the row of shops is very dark, so on the adjustment layer i increased the brightness and then used the brush tool over the stain glass windows to bring them through. The final image is then a lot brighter and more detailed.

Next we created a panorama image using Photoshop.
This is done by going on file, automate and then photomerge.
Next selecting browse then choosing the files that want to be merged together and then pressing ok. Photoshop will then complete the process for you.
Next we taught how to use the quick selection tool, in this case we used it to edit a very dark object in a image without changing other parts of the picture.
As you can see the statue has been selected but nothing else. Now using levels again i can change the darkness of the statue, increasing the brightness so more detail can be shown.
As you can now see the image is a lot stronger with a lot more detailed being showed.


No comments:
Post a Comment